Hardware Studio
A Hardware Studio to shape physical objects
Access Control - Fabman
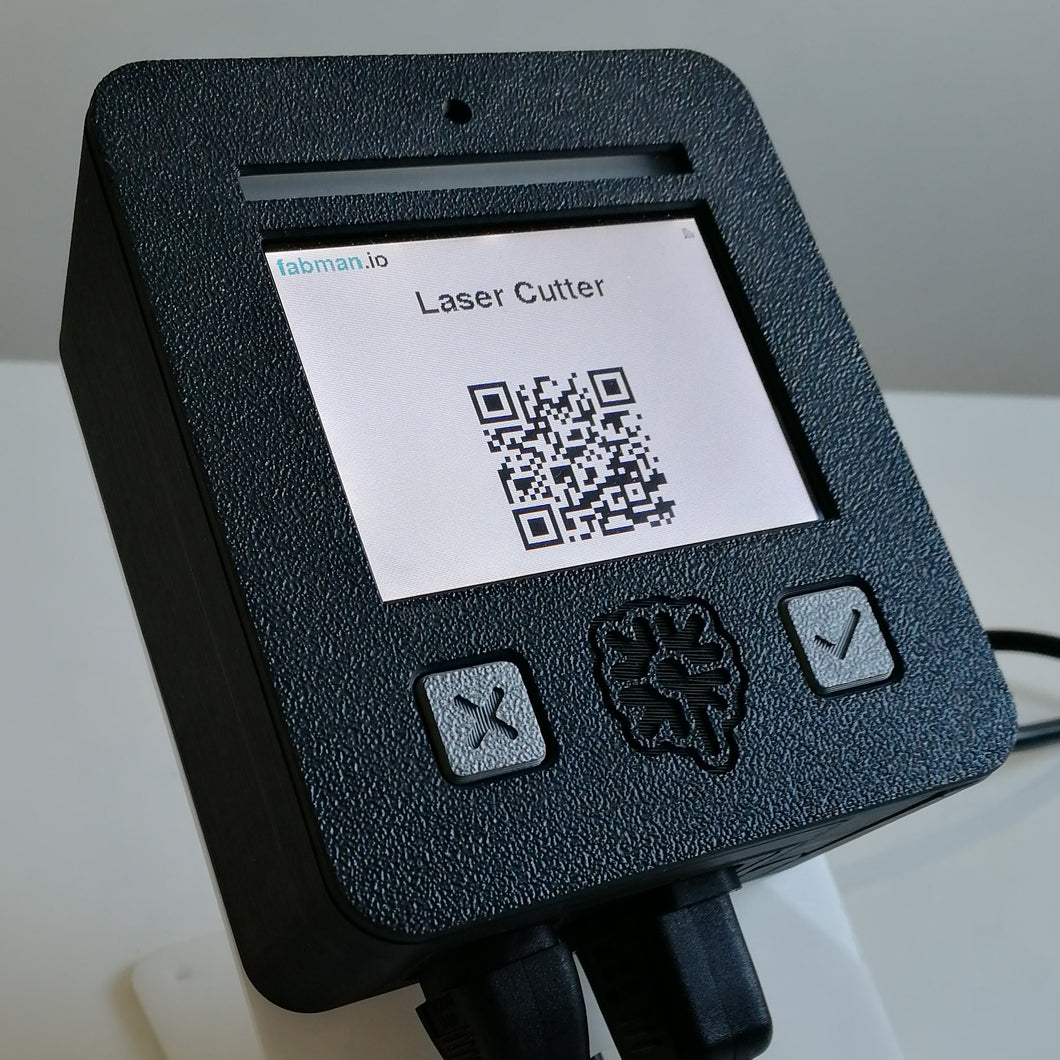
Access to some of our machines / tools in the Hardware Studio is managed over Fabman (e.g. the laser cutter and soldering stations). Upon completion of a training (clicking on the button below the videos), we will automatically create your Fabman account in our Maker Universe. You will receive an email with a link to set your password and log in to Fabman. After that, you are ready to go and use our machines. To turn on the machines, you will need to use your smartphone and scan the QR code on the Fabman bridge (a little black box next to each machine). Alternatively you can now use your HPI key to sign into the bridge! Use the button below to create an account without completing a training yet or pair your key. If you have further questions feel free to contact us!
The following machines / tools require authentication over Fabman:
| Machine / Tool | Mandatory Training |
|---|---|
| Laser Cutter | How to Use the Laser Cutter |
| Soldering Stations | How to use the Soldering Station |
| Plotter | (No training required) |
| Textile Station | (No training required) |
Workshops and Fabman:
To attend a workshop, you will need a Fabman account, as it is required to log in at the Workshop Terminal located in the entry area. Access is available from 30 minutes before until 30 minutes after the scheduled workshop time. If you have any questions, feel free to reach out to our team, we are happy to help!
Poster Prints
The Plotter requires you to have a Fabman account in order to use it. Please make sure to create one using the button below. Using your smartphone, or by assigning you HPI key to your Fabman account, you will be able to power on the plotter.
Label Printer: QL-820NWBc
This QL-820NWBc can print up to 62mm in width. If wider: You might change the orientation of the label in the software to fit the label on the printer.
You can use the printer via Wi-Fi (hpi-studios) and via USB. You can find the software on our Modeler Workstation.
Download:
3D Printers
Bambu A1 Mini
Use Bambu a1 Mini when you print small objects with a single filament.
Bambu X1
Use Bambu X1x when you print large objects of up to 256 x 256 x 265 mm, or objects with up to four different types or filaments.
Prusa XL
Use Prusa XL when you print large objects and / or objects with multiple filament types.
To use all features of the Prusa XL we recommend to use Download: Prusa Slicer You can send jobs remotely with prusa connect
If you want to use various nozzle widths in one print, you need to use simplify 3d for slicing. we have a profile for Prusa XL here:
Printing with Vector Files
It's possible to import SVG files into the slicing software, give them a thickness (extrude) and 3d print them. This works in Pruse SLicer, Orca Slicer & Bambu Studio.
Import your SVG file, the printer will directly show an extruded version with a height of 10mm. For creating small signs set Z-height to 2mm (uncheck uniform scale) and adjust XY scale as needed.
- [ ] import model in OrcaSlicer
- [ ] use "auto orient" to position model
- [ ] select textured PEI plate for PLA
- [ ] check if model needs support structure
- [ ] assign filament
- [ ] print on one of our printers
- [ ] tag printer with your name
Alternative: Use Orca Slicer on your Laptop
https://github.com/SoftFever/OrcaSlicer
Install with brew: brew install orcaslicer
AUR: orca-slicer
3D Print Online Ressources
https://www.printables.com/
https://www.thingiverse.com/
https://thangs.com/
https://makerworld.com/
3D Modelling
Blender
Blender is an open-source 3D modeling, animation, and rendering software.
You can get access to Blender through our workstations in the Media Studio
Free Download
Autodesk Fusion
Parametric CAD software with a powerful CAM module. Full version free to use with educational autodesk account.
Rhinoceros 3d
Is a great extendable solution with fair student pricing and 3 months trial. David who's here on Thursdays is an expert and will help you to get started.
3D Scanning
Shining3d Einstar
The EinStar is a structured light scanner with 0.1 mm resolution. It's good for portrait and object scans but requires a power outlet and isn't fully self-sufficient
manual
software
Login Software - User: makeruniverse@hpi.de PW: Maker2025!
3dMakerpro Seal
The Seal is a structured light scanner with a resolution of 0.01 mm, it works well for objects up to 300 mm. We have the smart grip addon which can be used in combination with a smartphone to enable mobile scanning (e.g. our iPhone 14 pro) We also have a turnatable for automated scans of small objects.
1.) Download JMStudio for Mac or Windows, or use one of the PCs in the Media Studio.
1.1) No login needed - use guestmode
2.) Import the calibration file (File > Import Calib) – choose network download and enter this serial: JMS2003841.
3.) Optionally, scan without a computer using the Smart Grip with JMStudio Mobile App (iOS/Android, download from the link above).
4.) To access scanned data on JMStudio desktop: File > Import from Device, then scan the QR code with the mobile app (both devices must be on the same WiFi network).
recommended smartphone apps
Scaniverse free app for photogrammetry & gaussian splat scan link
reality scan free app for photogrammetry scan link
Luma AI free app for NeRF scans (neural radiance fields) link
polycam best paid app with many features link
desktop apps
open source phtogrammetry solution for Windows & linux link
3D Printing Software: Orca Slicer
The workstations in our Media Studio and our Hardware Studio offer access to Orca Slicer. Orca Slicer is your best option to prepare 3D prints.
Electronic Workstation
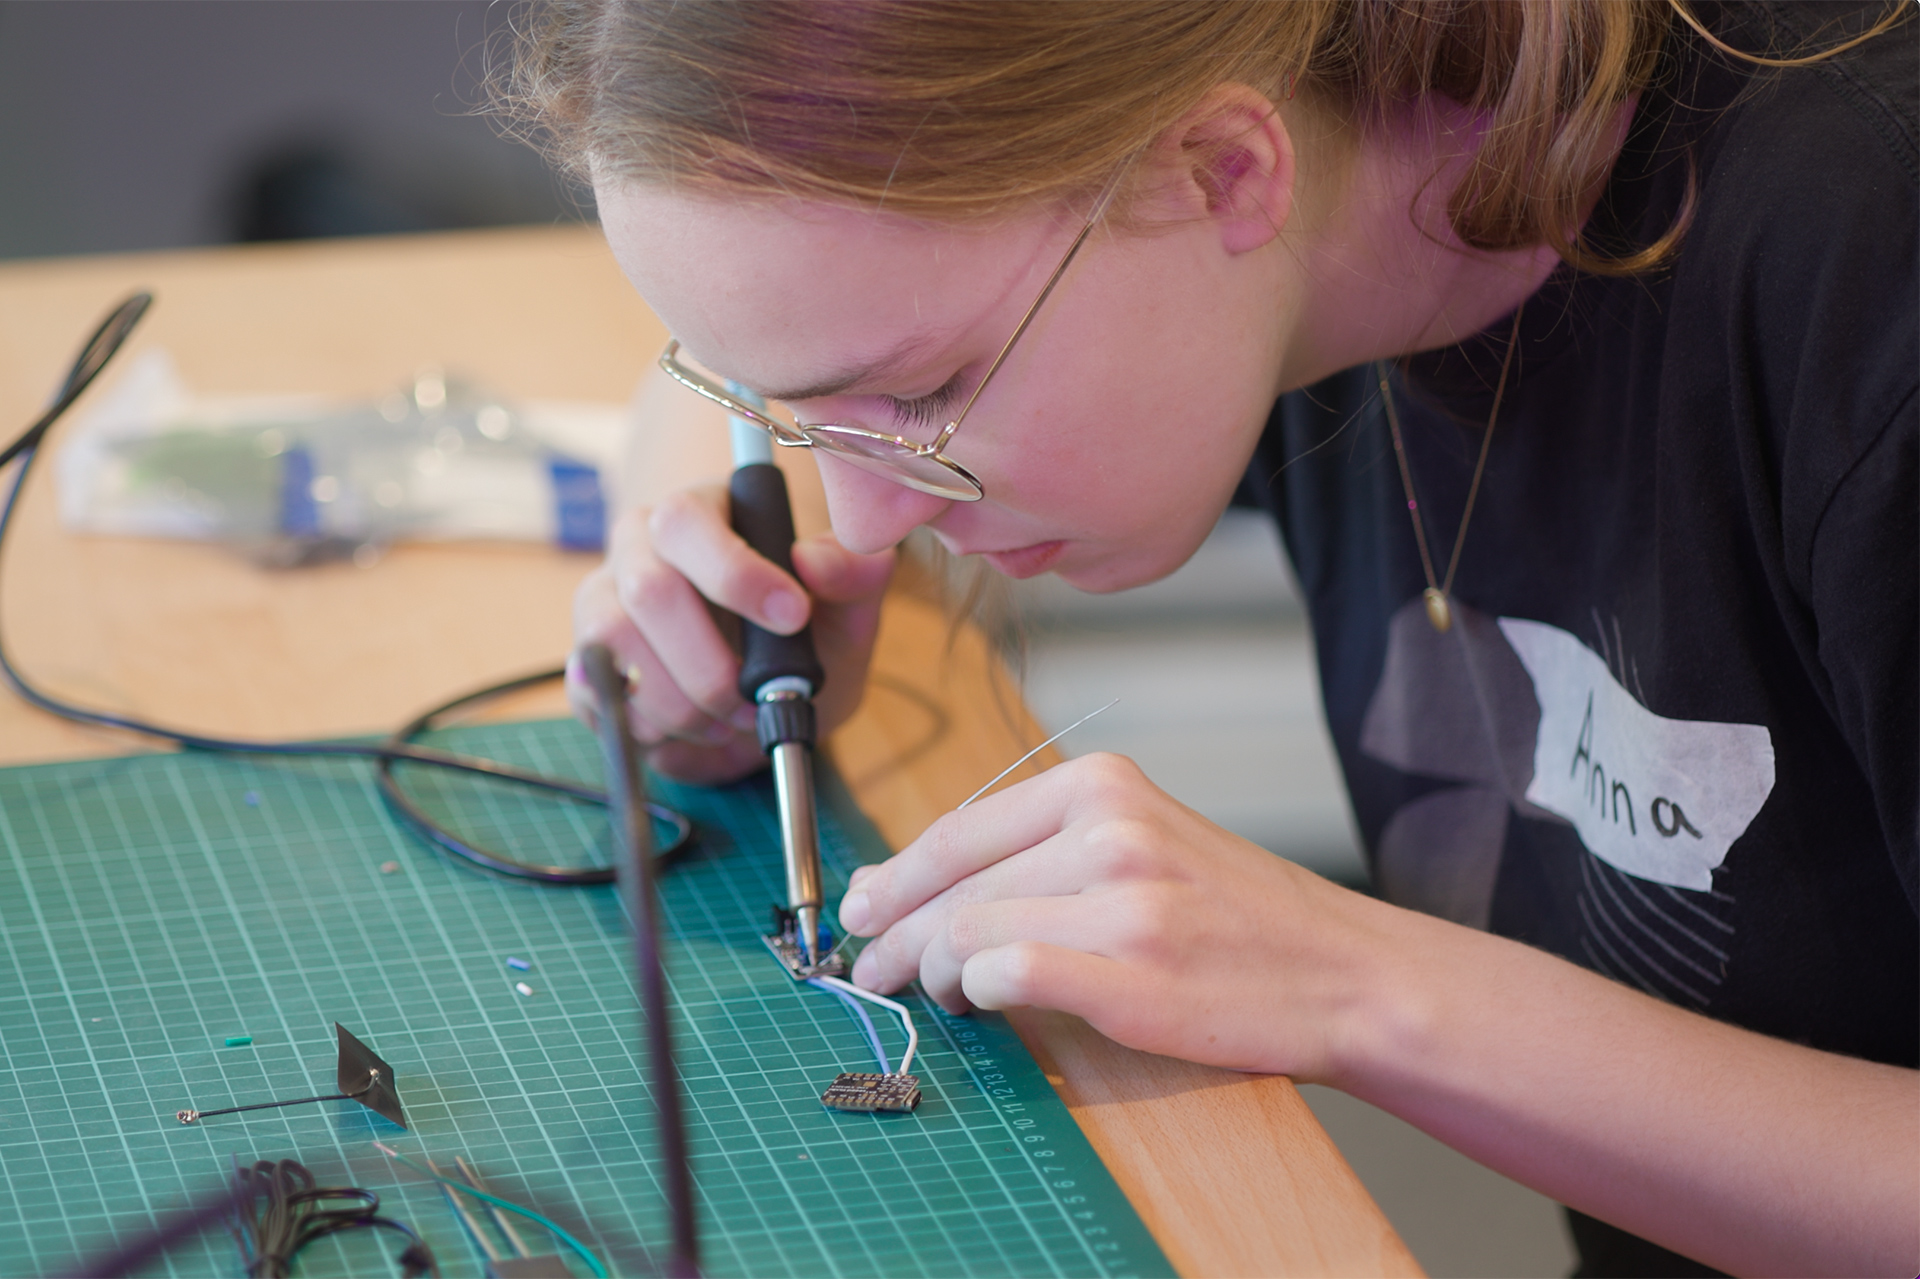
How to use the Soldering Station
After you have watched the video, you can click the button below to finish the training and gain access to the soldering stations.
Soldering Basics
Multimeter
Microscope
Materials
Textile Workstation
The Textile Workstation requires you to have a Fabman account in order to use it. Please make sure to create one using the button below. Using your smartphone, or by assigning you HPI key to your Fabman account, you will be able to power on the workstation.
Sewing Station Part 1 / Fabric Basics & Preparation
Sewing Station Part 2 / Threading the machine
Sewing Station Part 3 // Introduction to Sewing
Vinyl Plotter
Laser Cutter
How to Use the Laser Cutter
In this video David will show you how to use our laser cutter. He will explain the basics of the machine, safety precautions, and how to use the software by cutting a simple design.
The Laser Cutter Workstation is located in the small Hardware Studio next to the Trotec Laser Cutter.
After you have watched the video, you can click the button below to finish the training and gain access to the laser cutter.